Identity Access Management (IAM) is extensively utilized and may look simple at first glance, yet it is surprisingly complex. IAM users, roles, groups, and policies form the backbone of restricting and allowing access between people, applications, databases, servers, and more.
Developers who lack experience with Identity Access Management (IAM) may spend countless hours trying to create effective policies. Even those with IAM experience can unintentionally misconfigure settings without realizing it. These accidental misconfigurations can lead to serious consequences, such as compromised data, malfunctioning applications, or malicious actions by unauthorized individuals.
Resourcely’s configuration platform is a great way to make deploying IAM simple, while ensuring that IAM resources that are created meet your company’s requirements. Below, we’ll create an IAM factory that gives developers a simple UI for creating IAM users, roles, policies, and groups. Your company can customize these Blueprints and Guardrails based on your access standards by signing up for Resourcely for free: get your free account here and check out all of the Blueprints on GitHub.
Modular IAM factory
Today we’ve made available 4 modular IAM Blueprints. With these, you can give users a form that that they fill out featuring guidance, hinting, and simplified options. After completing the form, Terraform is generated and submitted to your change management tool of choice.
With these 4 Blueprints, your organization has a paved road to creating IAM that meets your expectations. Users can create users and attach policies to them, or create an assumable role and attach a policy, or create a group + users + policies. The sky is the limit! To try them out, sign up for your free account at https://portal.resourcely.io, and create the Blueprints you want based on the GitHub links above.
For a more in-depth walk-through, follow along with our Monolithic IAM Blueprint below.
Monolithic IAM Blueprint
Have you ever wanted to give users a form that lets them deploy IAM, while taking advantage of all the benefits of Terraform? Here, we’ll translate a Terraform example into a Resourcely Blueprint. The end result will be a flexible form that developers can use to deploy an IAM group and policies, with guidance and rules built in.
Once the form is completed, Terraform is generated that meets your standards and a change request is submitted through your existing CI/CD pipeline. This preserves the benefits of IaC, without requiring developers to dive deep into writing Terraform and deciphering cloud documentation.
There are 4 primary resources needed to create an IAM group, associate users, and attach a policy:
Terraform Example
An example might look like this:
Trust me, it is really easy to screw this up. We’ll take the above, create an equivalent Resourcely Blueprint, and walk through what we get as a result.
Blueprint
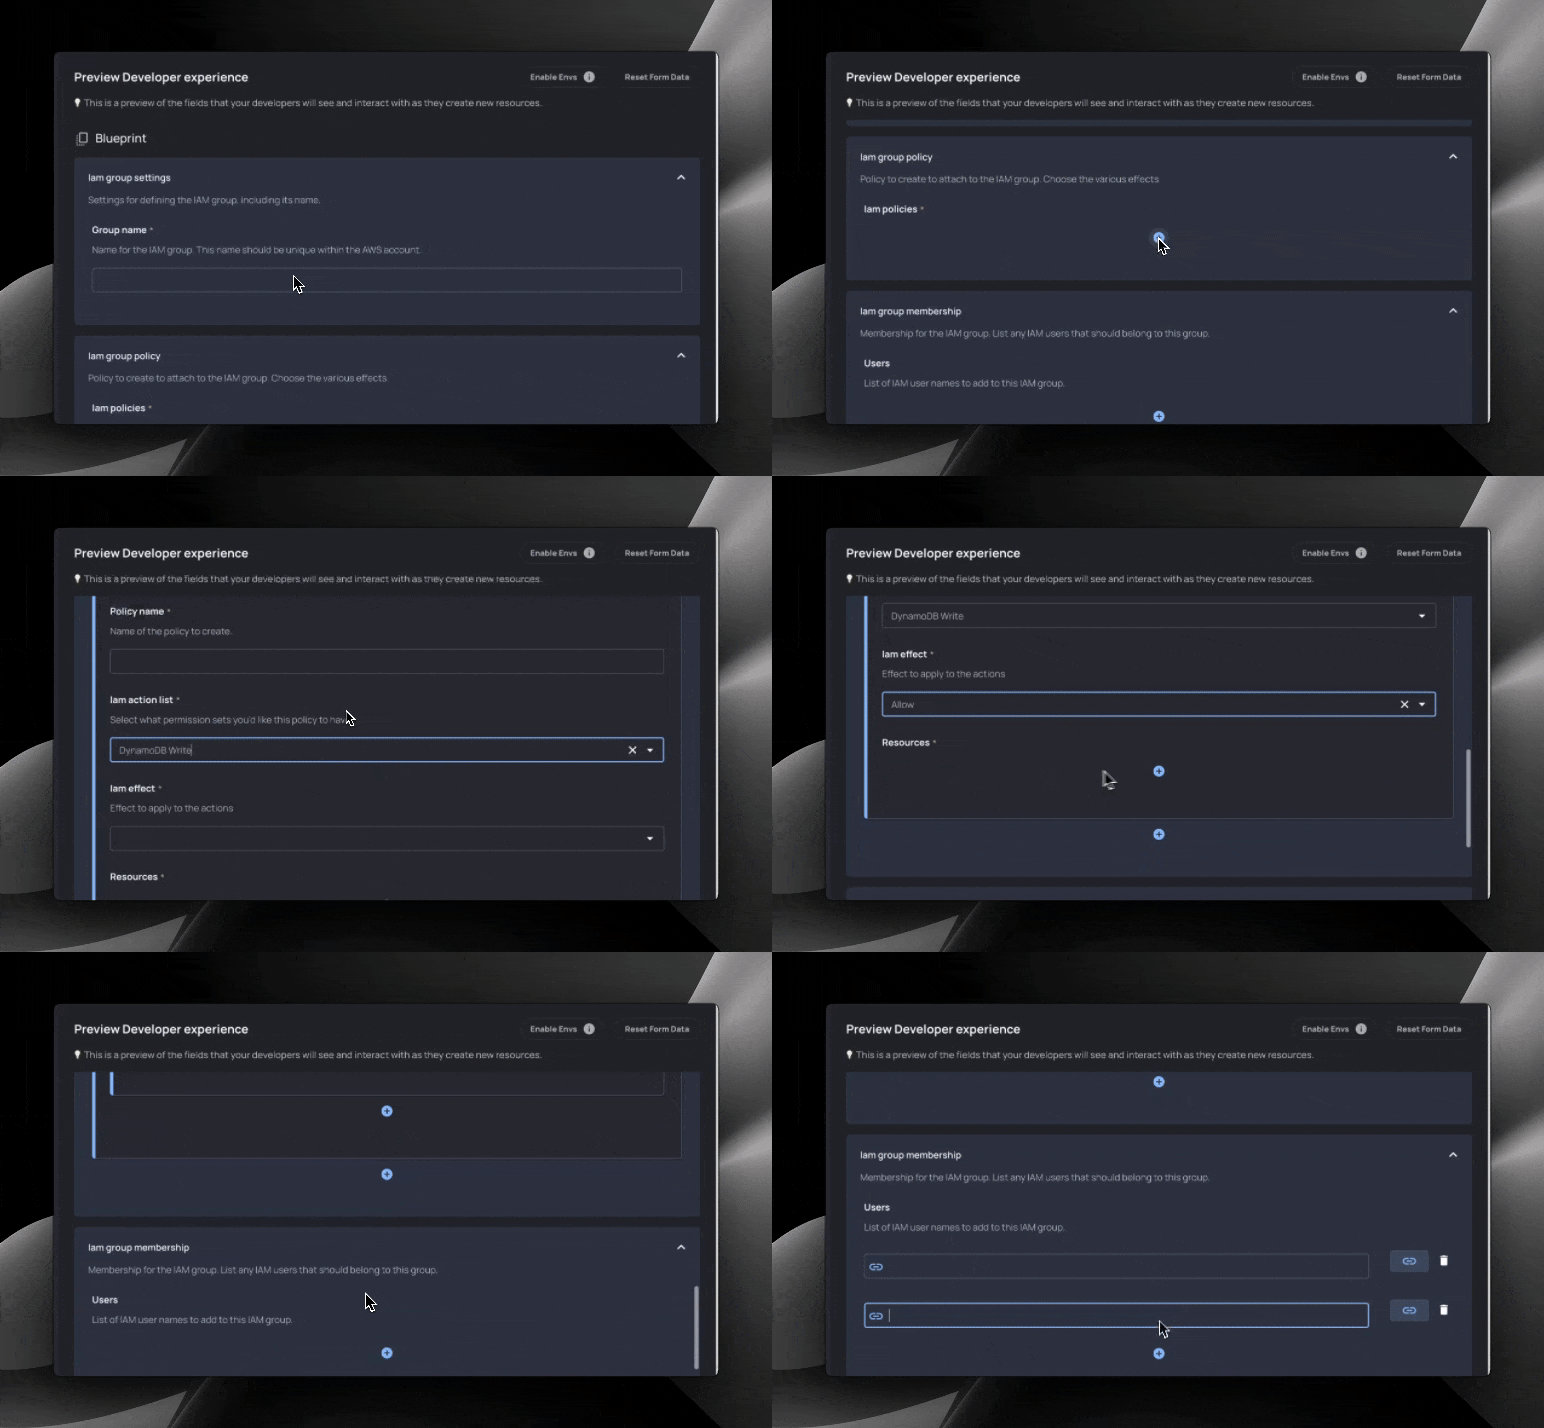
Here’s the Blueprint that we created. While this may appear heavy at first glance, it was easy to create by starting from our above Terraform. The end result is the form pictured in the gif after the code.
Resulting form for developers:

Let’s break this Blueprint down into chunks. First, the frontmatter:
We have three sections in the frontmatter: constants, variables, and groups.
Constants are used to define static values that you want to reference. Variables create input fields in our developer form, and groups allow us to organize our developer form.
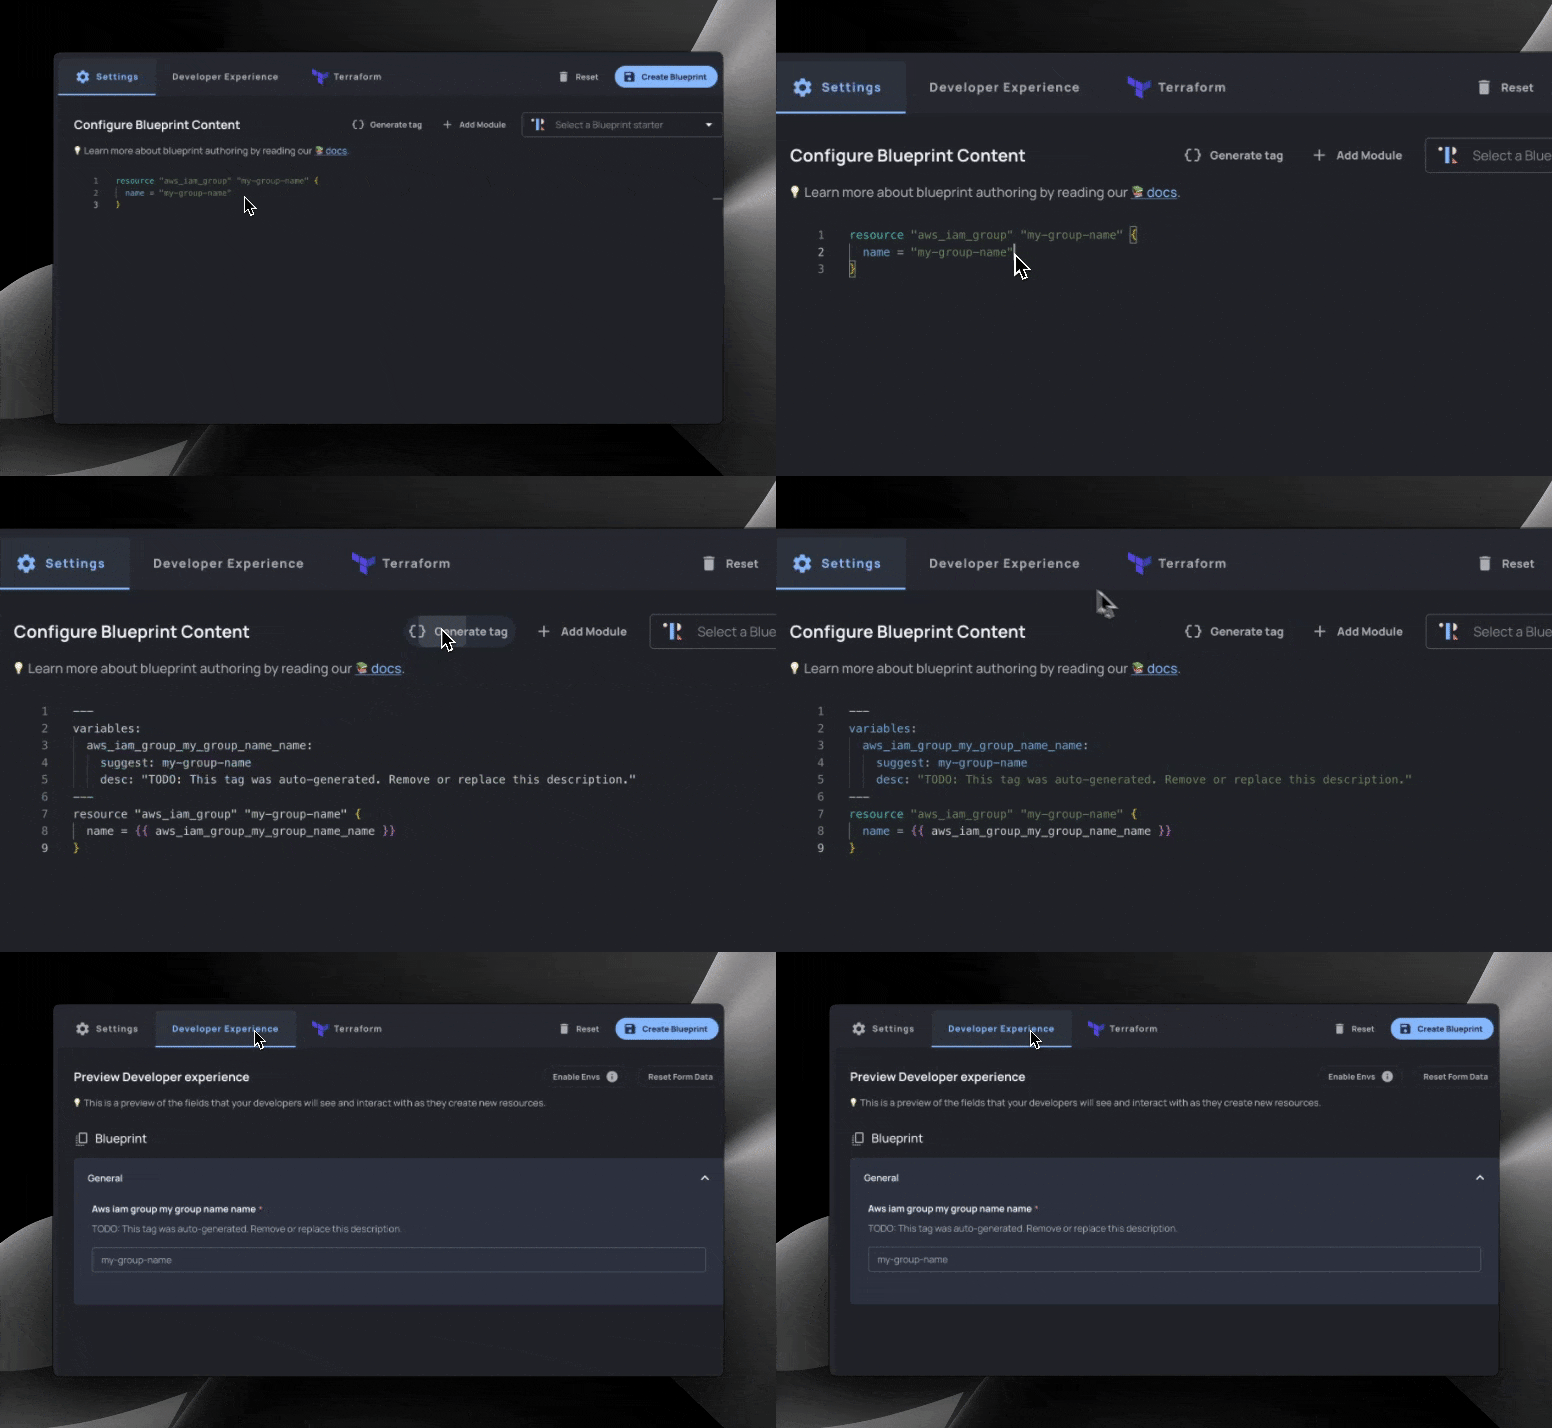
The variables section is easy to create: in this example, we actually did it by highlighting various fields and clicking “Generate Tags”.

We define metadata such as description, which group to organize the input in, and even links_to for linking to existing resources.
Next up, we start creating templated Terraform utilizing our variables:
Here, we created our first resource: the aws_iam_group. We will associate users and policies with this group, giving users that are members the ability to access certain services or resources.
The name = {{ group_name }} line references the group_name variable we defined in our frontmatter:
Defining variables automatically creates a form for developers to interact with. Resourcely automatically populates the variable with choices that make sense, based on the associated field. If the variable is related to a region, relevant region options will be populated. If the variable is related to a boolean, true/false will be populated.
Further inspecting our Blueprint, let’s check out our next resource: IAM group membership.
Here, we utilize the same group_name variable and the __group_name constant that we set in the frontmatter to set the name our aws_iam_group_membership without requiring more inputs. We append “_membership” to the variable to make the name unique. This resource will associate users with the IAM group that we created before.
The line group = aws_iam_group.{{__group_name}}.name lets us reference the name attribute of the group that we created above.
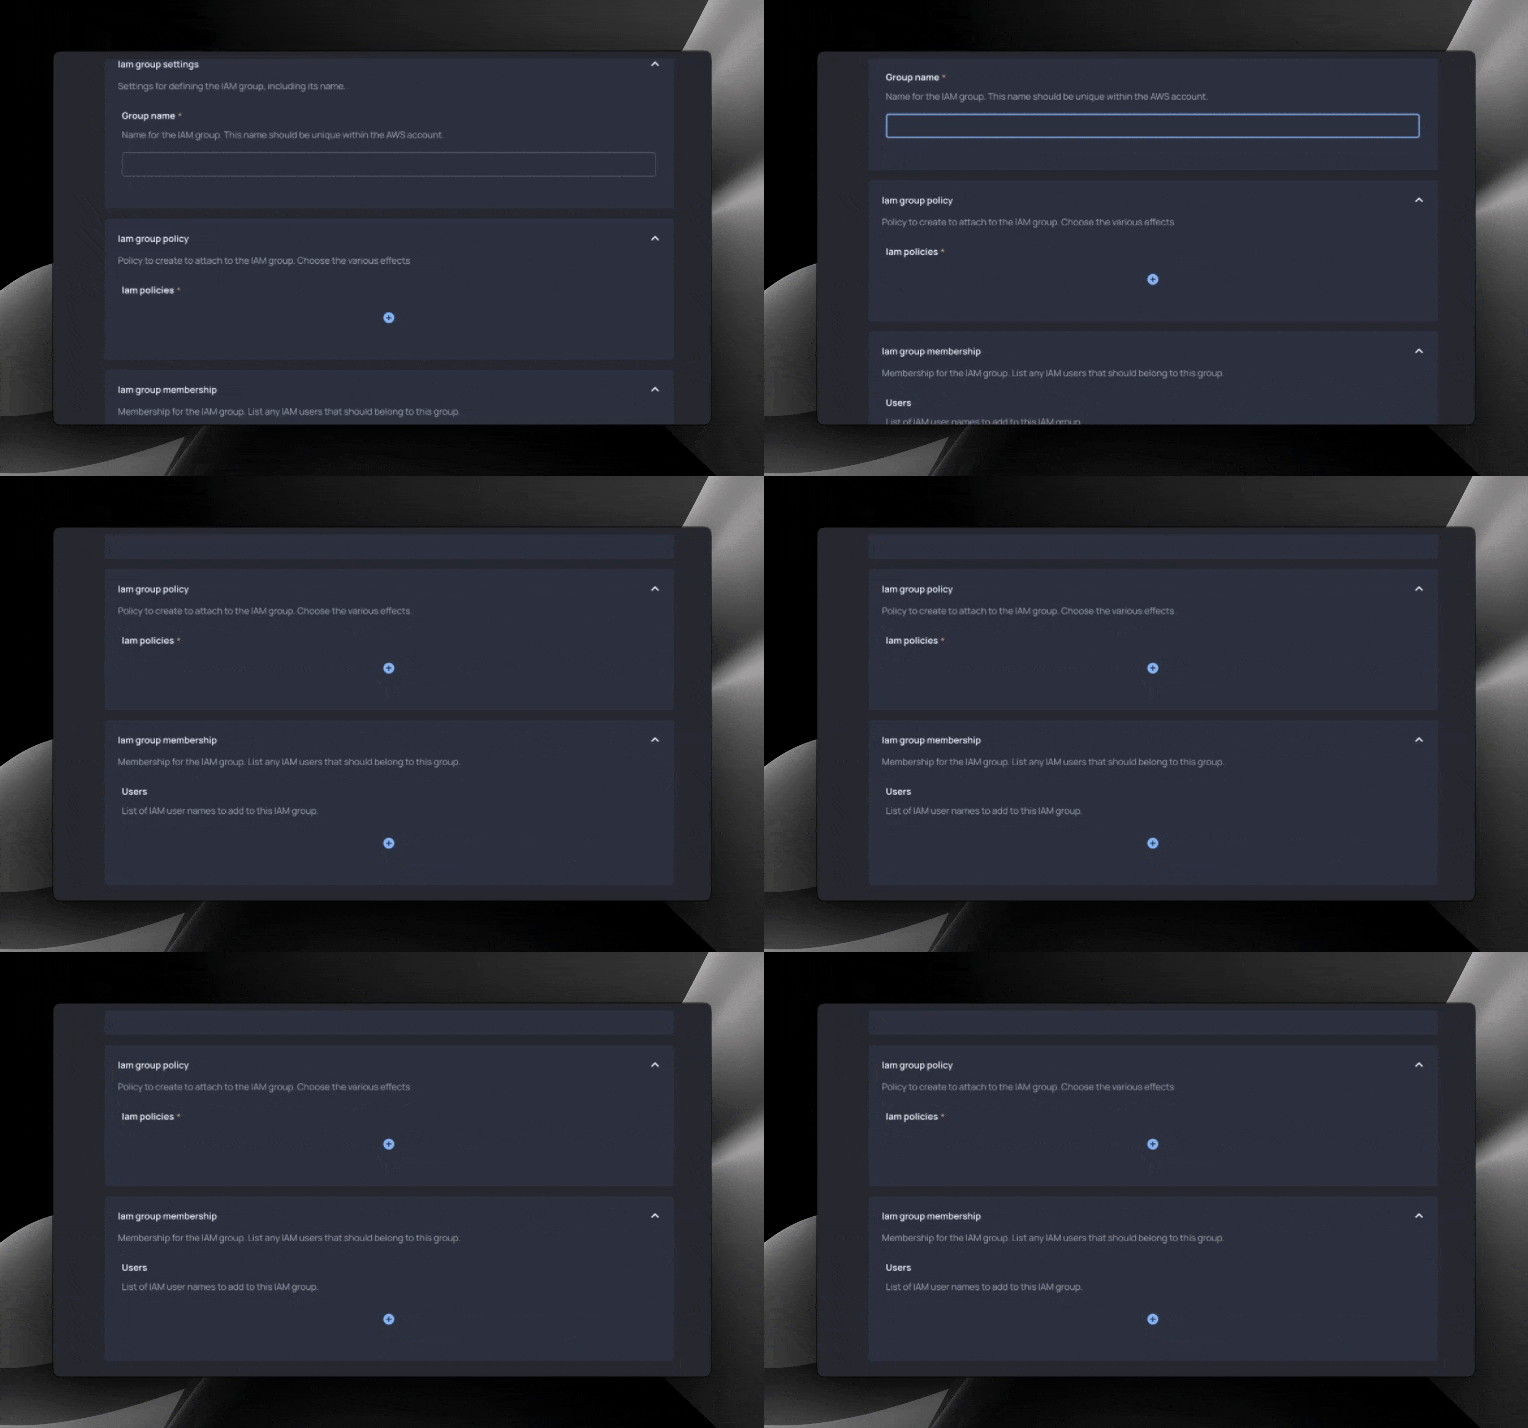
Finally, we associate usernames with the IAM group. Here we utilize section tags {{# }} and {{/ }}. Section tags allow us to take 1 or many inputs in an indexed array that can be referenced with the special __index variable. These inputs are automatically handled in our form like the below:
Section tags can be nested inside each other, which we’ll explore in depth later.
In our last section of code, we create IAM policies and attach them to our IAM group using two resources: aws_iam_policy and aws_iam_group_policy_attachment. We wrap both of these resources in section tags, so that we can create 1 or more sets of policies and policy attachments. For more information about creating safe IAM policies, check out this good Hashi documentation on IAM policies using IaC.
The policy attachment resource is straightforward - we reference the single IAM group that we created before, and then we reference the IAM policy that we create below it.
The aws_iam_policy resource can be a complex one for developers to understand. IAM actions are not immediately obvious, and it is easy to screw up allowed resources. As a result, we have put strict controls around these inputs: giving guidance while preventing potentially harmful actions. How do we do that? Global values and Guardrails.
Recall our frontmatter: for the Action and Effect variables, we referenced global values:
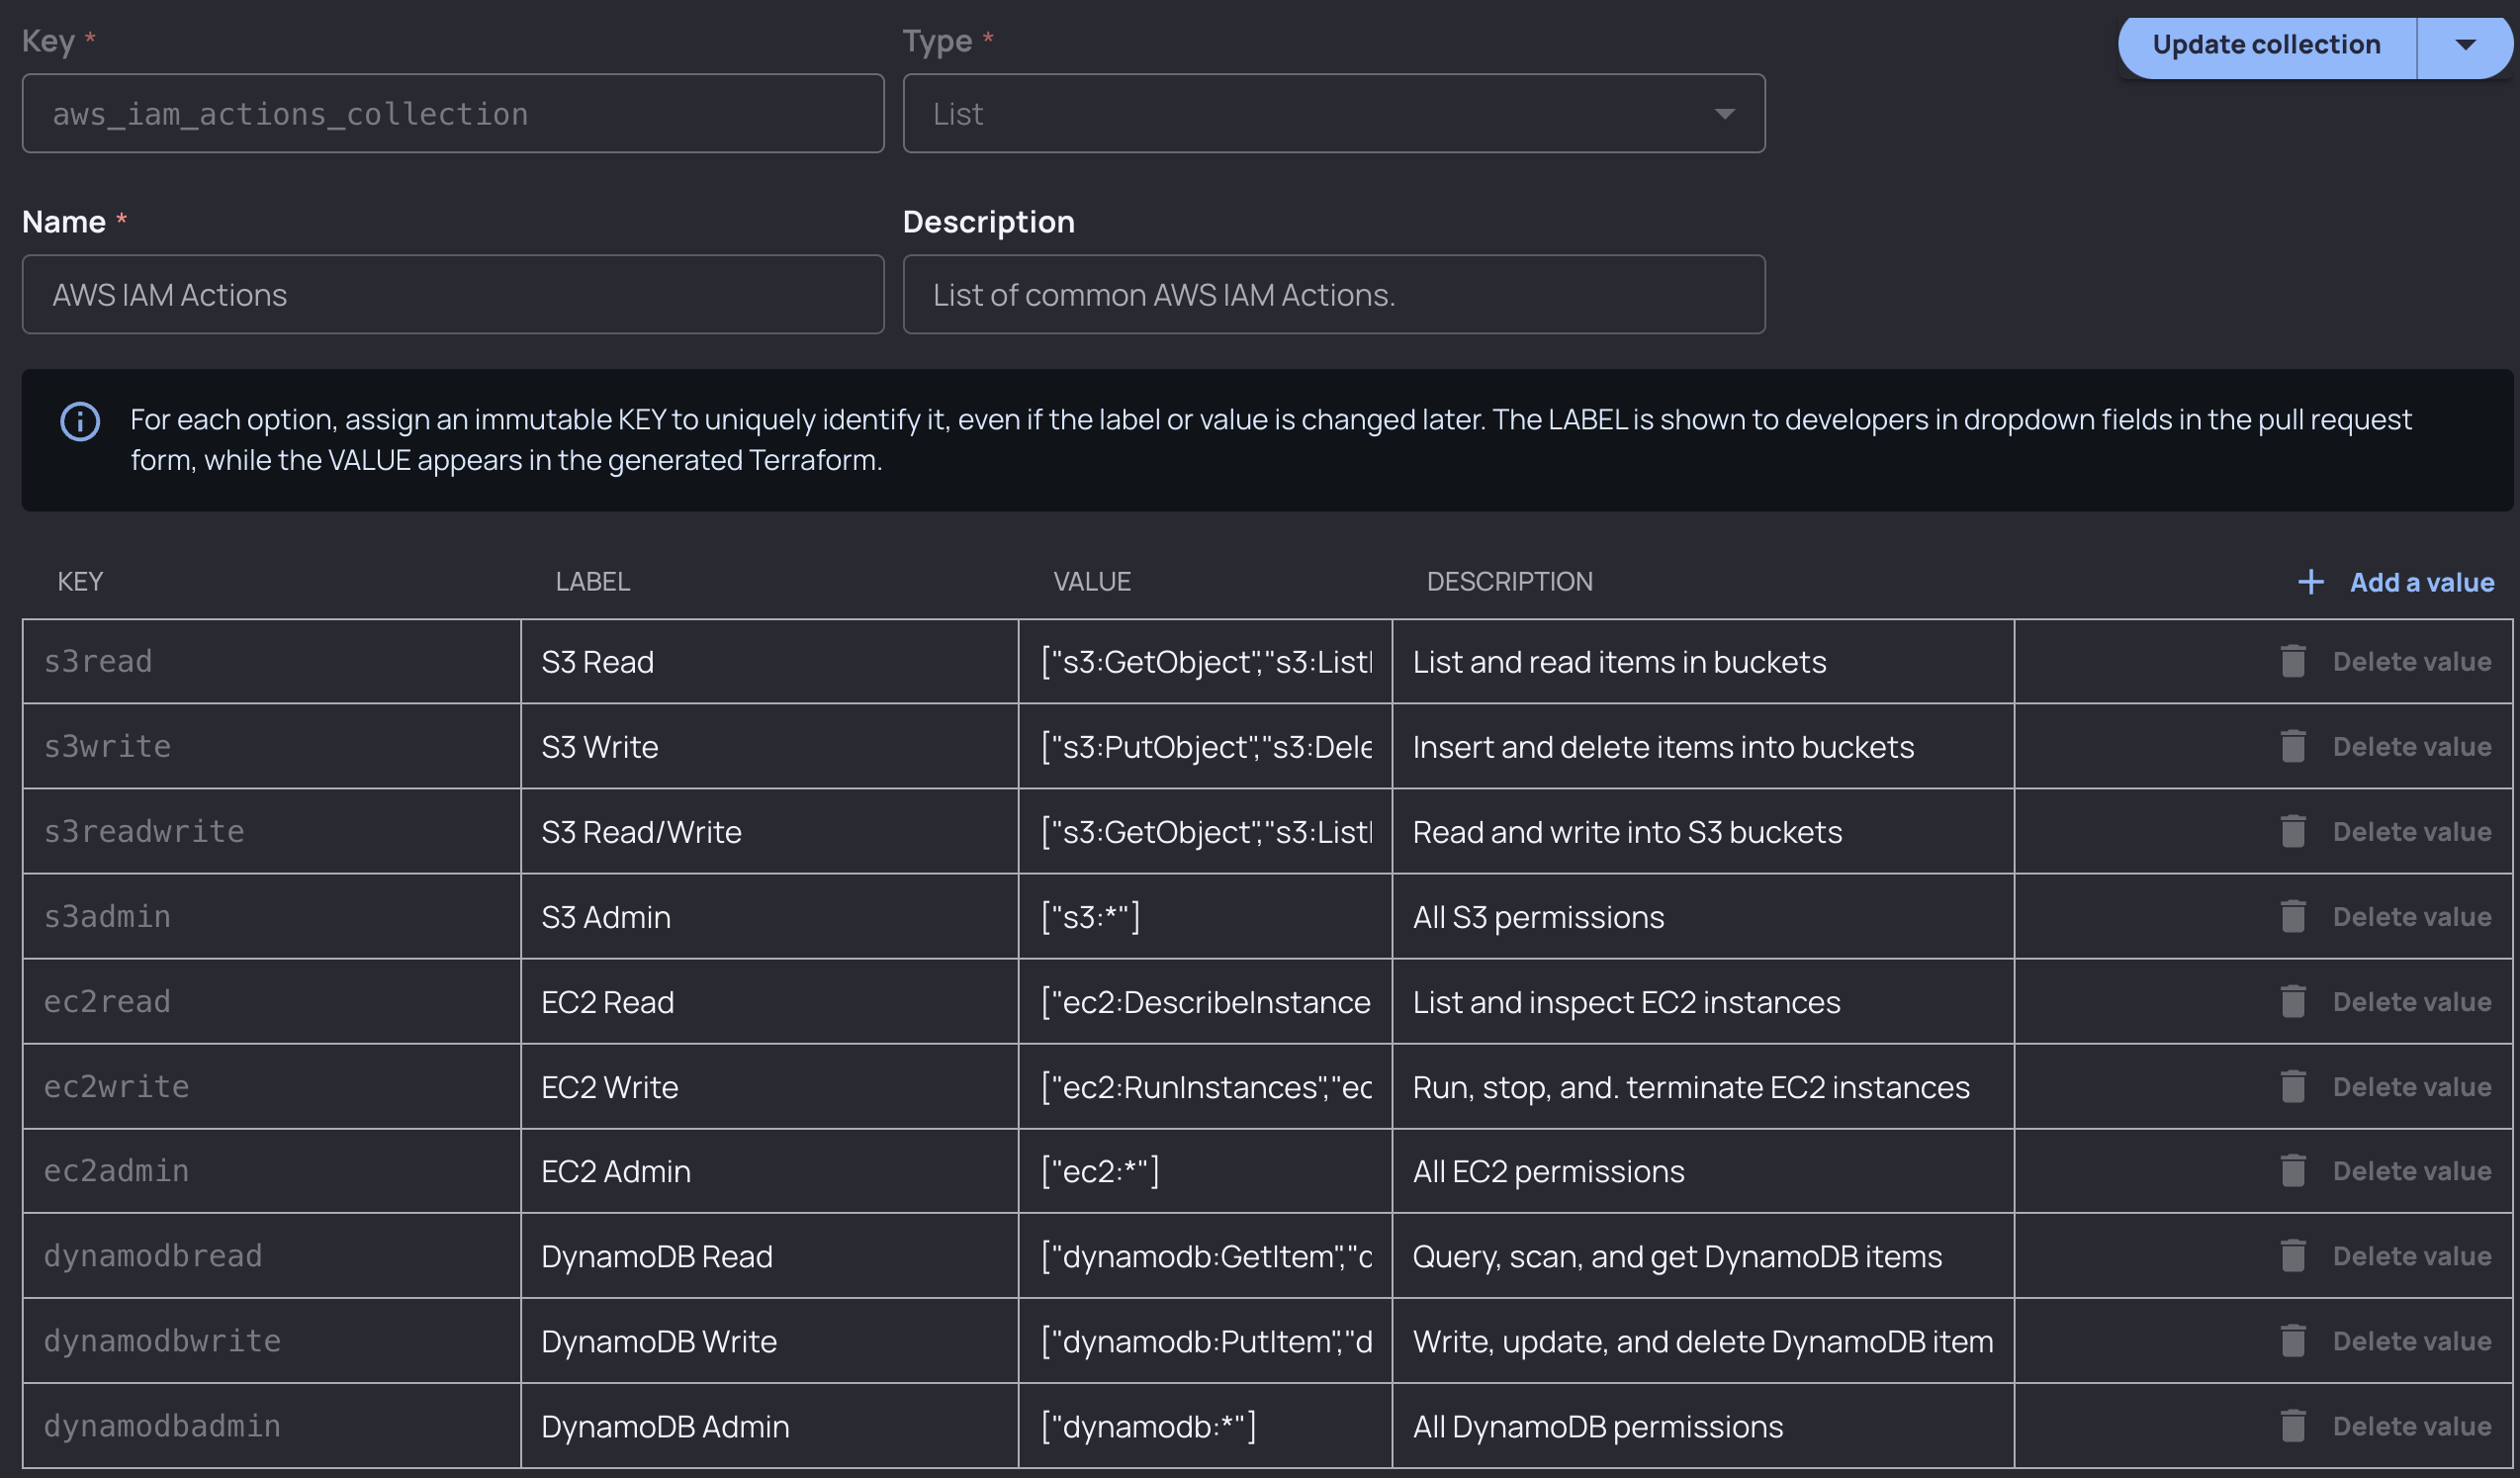
These reference two global value collections that we have created. These collections are used in this case to simplify selections for developers.

For IAM actions, developers would select DynamoDB Read, and the collection value (["dynamodb:GetItem","dynamodb:Query","dynamodb:Scan","dynamodb:BatchGetItem"]) would be inserted into the Terraform generated for them when they fill out the form. Collections are a great way to simplify and restrict inputs, and they’re also customizable: you could define any profile of permissions that users could choose from and add rules around that using Guardrails.
For resources, we utilize a nested section tag:
Nested section tags allow us to associate multiple resources with the policy. Resources expect an arn with the format arn:aws:service_name:::object_name. One common (although unsafe) pattern that users will often use is to simply insert a wildcard (*). This would allow the policy to interact with any AWS object in your account.
Let’s say you want to restrict this behavior. You would apply the following Resourcely Guardrail to your Blueprint:
If a user were to insert a wildcard into the Resources input, the resulting Terraform change request would be blocked from merging until the security team (or whichever team you specify) approves.

Resulting form
With our Blueprint code final, a form is now ready for developers. With it, they can create IAM groups, add users to the group, create policies, and associate policies with our group.

Conclusion
IAM is complex, hard to scale, and dangerous when improperly implemented. Platform, identity, and security teams need ways to streamline IAM configuration that isn’t manual. With Resourcely’s configuration platform, give developers self-service IAM configuration that is safe, fast, and efficient. Get your own IAM factory by signing up for Resourcely for free: get your account here.


.png)
